最近做项目用到了这两个函数,本人经过仔细对比,认为它们的功能应该是完全一样的,都是将一个较多通道的特征变成较少通道的特征,具体定义如下:1
def depth_to_space(input, block_size, name=None):
block_size用来说明数据移动的方式。该函数的操作是将block_size x block_size数目的特征图转换成一个不重叠的特征,新的特征高度为input_heigh x block_size,宽度为input_width x block_size,其中block_size大小一定是大于1的整数,为了观察该函数的效果,本人写了如下一段程序:1
2
3
4
5
6
7
8
9
10
11
12
13
14
15
16
17
18
19
20
21
22
23
24
25
26
27
28import tensorflow as tf
x = tf.constant([[[[1, 2, 3, 15], [4, 5, 6, 16]],
[[7, 8, 9, 17], [10, 11, 12, 13]]]])
print(x.shape)
y = tf.depth_to_space(x,2)
with tf.Session() as sess:
z = sess.run(y)
print(z)
输出结果为:
[[[[ 1]
[ 2]
[ 4]
[ 5]]
[[ 3]
[15]
[ 6]
[16]]
[[ 7]
[ 8]
[10]
[11]]
[[ 9]
[17]
[12]
[13]]]]
我做了一下模拟,大概是以下这样的:
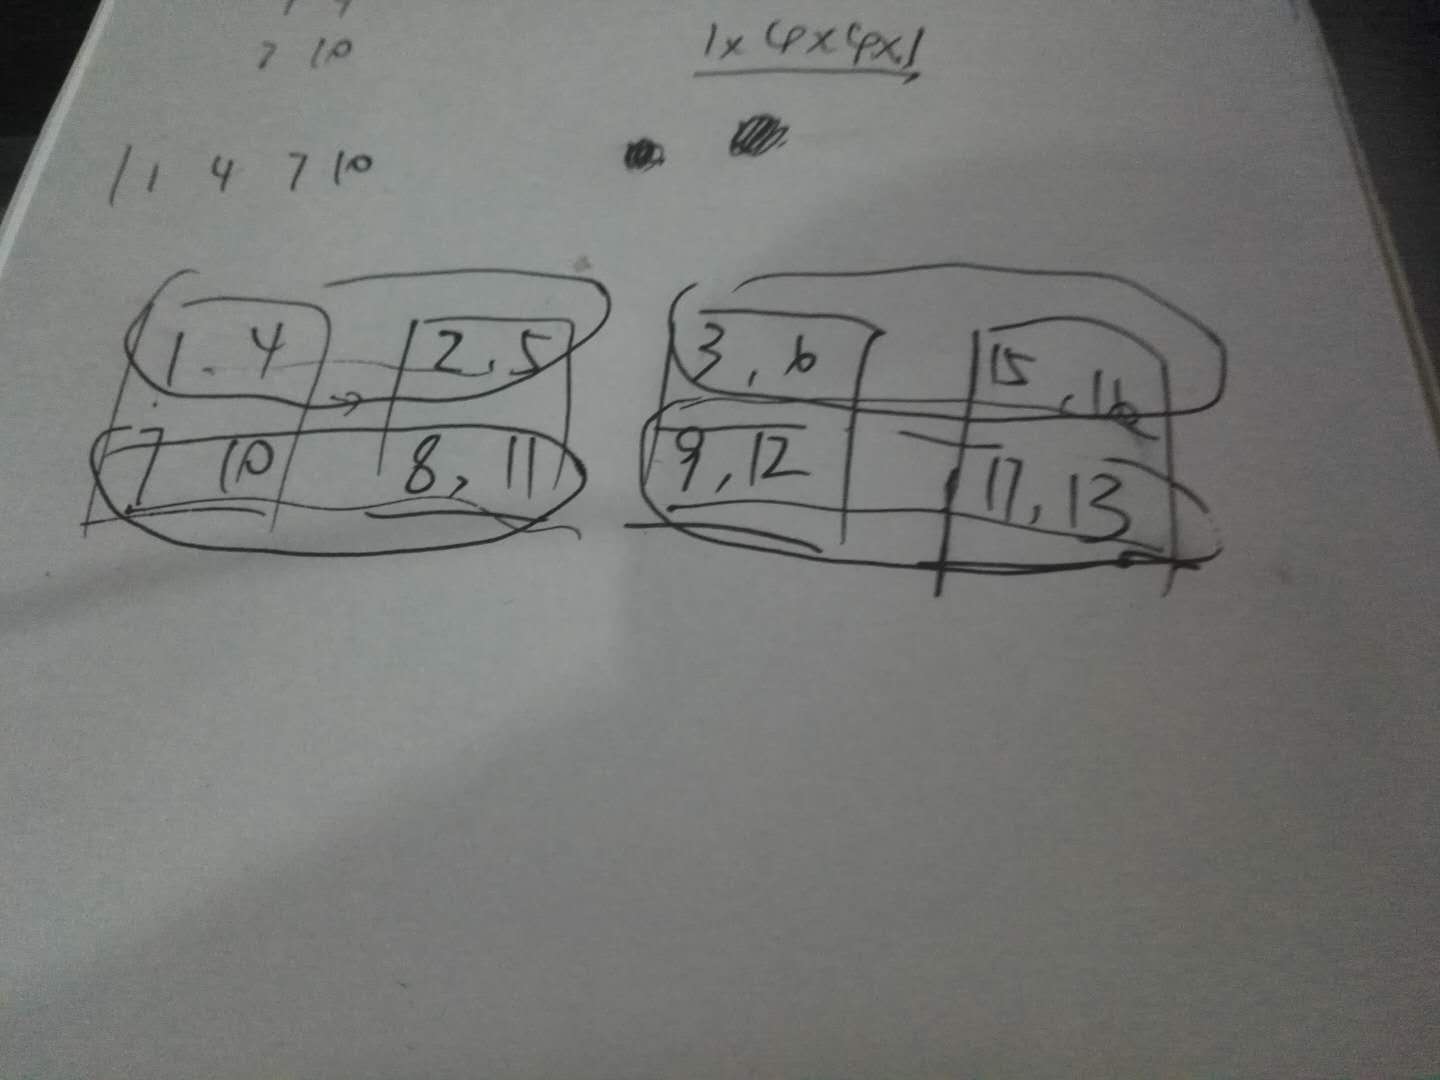
方块是原来的特征图,该操作就是将圈里的部分重新组合成一行,总共四行,从四个2x2特征图变成一个4x4的特征图。对于pixel_shuffle,效果完全一样,其定义如下所示:1
2
3
4
5
6
7
8
9
10
11
12
13
14
15
16
17
18
19
20
21
22
23
24
25
26
27
28
29
30def pixel_shuffle(input, upscale_factor):
r"""Rearranges elements in a tensor of shape ``[*, C*r^2, H, W]`` to a
tensor of shape ``[C, H*r, W*r]``.
See :class:`~torch.nn.PixelShuffle` for details.
Args:
input (Variable): Input
upscale_factor (int): factor to increase spatial resolution by
Examples::
>>> ps = nn.PixelShuffle(3)
>>> input = autograd.Variable(torch.Tensor(1, 9, 4, 4))
>>> output = ps(input)
>>> print(output.size())
torch.Size([1, 1, 12, 12])
"""
batch_size, channels, in_height, in_width = input.size()
channels //= upscale_factor ** 2
out_height = in_height * upscale_factor
out_width = in_width * upscale_factor
input_view = input.contiguous().view(
batch_size, channels, upscale_factor, upscale_factor,
in_height, in_width)
shuffle_out = input_view.permute(0, 1, 4, 2, 5, 3).contiguous()
return shuffle_out.view(batch_size, channels, out_height, out_width)
顺便也给了一个例子,这里我就不赘述了。
这两个函数在low_level问题里用的地方挺多的,优点很明显,不需要进行上采样恢复原来的图像尺寸,从而避免信息的损失,看来以后可以用这种方法做一下上采样的尝试。